Viewing and Editing Signal Policies
Procedure
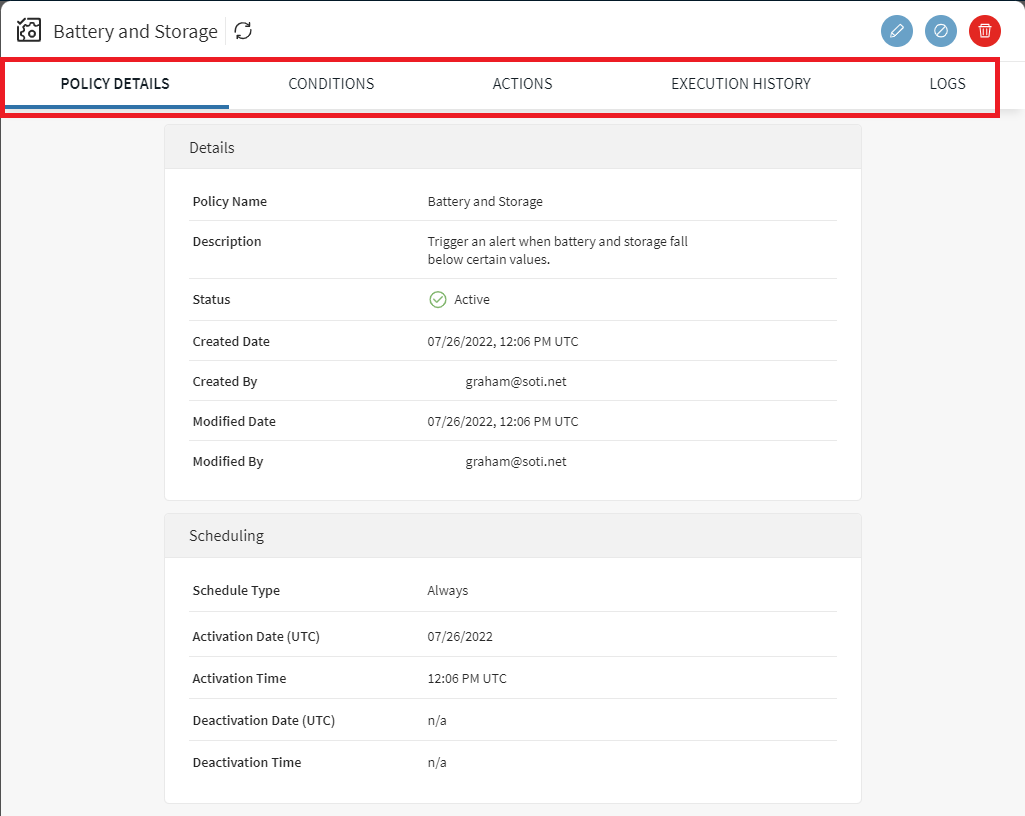
- Open the Policies > Signal view from the main menu, then click any existing Signal Policy Name in the list.
-
Browse through the tabs at the top of the screen to review the
Details of the policy (including summaries of the
Conditions and Actions
configured for the policy) and data on the Execution
History and event Logs of the
policy.
Watch the following video for more insight into Execution History and Logs:
The Execution History tab shows you the execution log for the actions in your Signal policy, which is expressed in three categories: Pending, Success, and Error. The top-level status for each result in the log is determined by the status of its child actions. For example, if a policy contains three actions (A, B, and C) where:- A: Action completed successfully
- B: Action queued for completion
- C: Action failed to execute
The top-level status for the result will show as Error. When all actions are successfully completed, the top-level status will appear as Success. If A and B actions were successfully completed, but action C is currently queued, the status will appear as Pending.
-
Use the following buttons to make changes to the policy:
-
 Edit the policy
  Disable the policy
 Enable the policy
 Delete the policy
-
- If you clicked the Edit button, the four-step Signal Policy wizard appears, which allows you to make changes to General information, Conditions, Actions, and Scheduling by clicking on the appropriate step number. In the Conditions and Actions steps, hover over the existing conditions and actions to make edits.
- Click Next through the wizard steps, then click Finish to save your policy changes.