Using Design Studio to Create Indoor Map Images
This section describes the features and usage of the SOTI Design Studio.
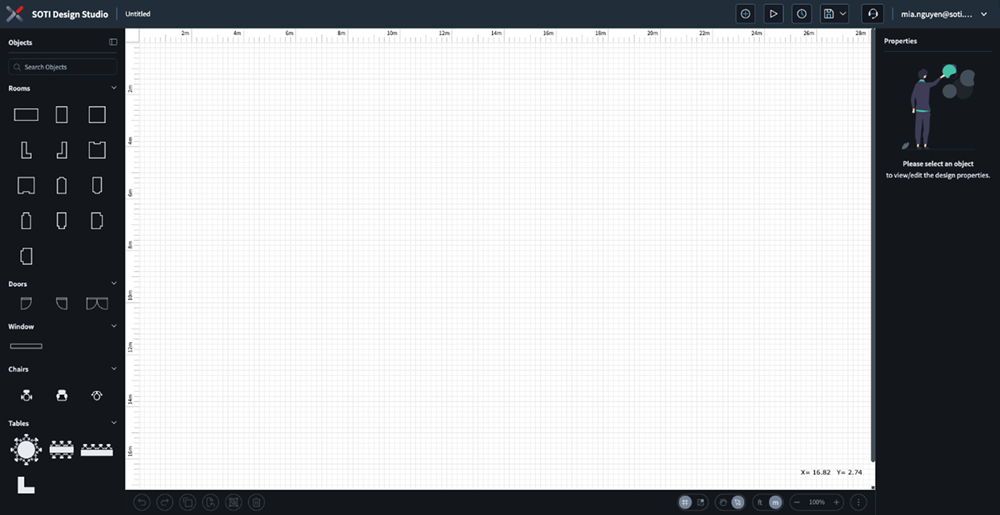
The Interface
The SOTI Design Studio interface consists of the following sections:
- The SOTI XSight main menu.
- File operations toolbar–New File, Preview, Recent and Save
- Objects panel–A library of objects that you can use when creating an indoor floor map.
- Properties panel–The properties panel displays and allows you to edit the properties of the currently selected object.
- Editing operations toolbar–Undo, Redo, Copy, Paste, Group Delete
- Utilities–Toggle Pan/Edit mode, Toggle Feet/Meters, Zoom, More
Drawing a Wall
Double-click on the canvas where the wall starts. Move the cursor to where the wall ends and left-click.
Drawing Objects
Select an object from the objects panel and drag it to the canvas. Use the properties panel to change the properties of the object.
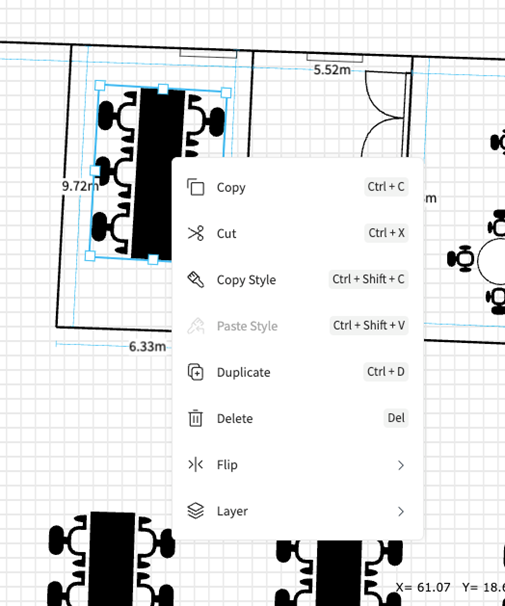
Using Context Menus
The Object Context Menu
- Copy
- Cut
- Copy and Paste Styles
- Duplicate
- Delete
- Flip (Horizontally and Vertically)
- Layer (Send to Front, Send Forwards, Send to Back, Send Backwards)
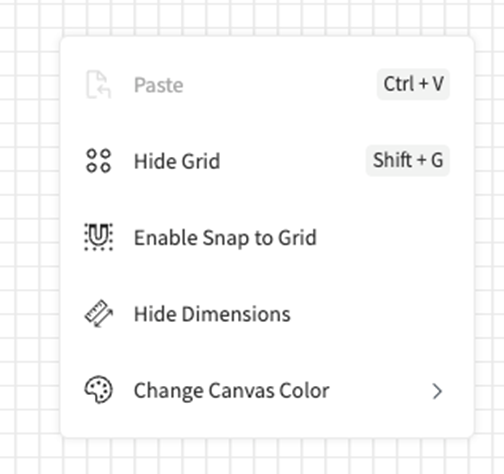
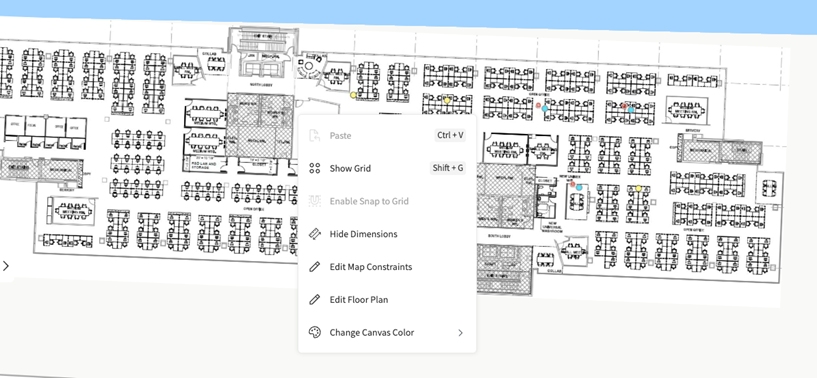
The Canvas Context Menu
- Paste
- Hide Grid
- Enable/Disable Snap to Grid
- Show/Hide Dimensions
- Change Canvas Color
- Settings related to World Map layer: Edit Map Constraints
Floor Plan: Edit Floor Plan
- Settings related to Floor Plan: Edit Floor Plan
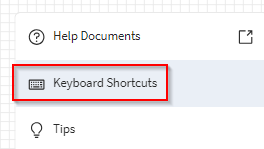
Using Keyboard Shortcuts
Select the More icon and then select Keyboard Shortcuts.
A scrollable list of keyboard shortcuts displays.
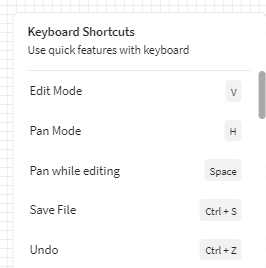
| Shortcut Name | Key Combination |
|---|---|
| Edit mode | V |
| Pan mode | H |
| Pan while editing | Space |
| Save file | Ctrl + S |
| Undo | Ctrl + Z |
| Redo | Ctrl + Y, Ctrl + Shift + Z |
| Cut | Ctrl + X |
| Copy | Ctrl + C |
| Paste | Ctrl + V |
| Copy Style | Ctrl + Shift + C |
| Paste Style | Ctrl + Shift + V |
| Duplicate | Ctrl + D |
| Select All | Ctrl + A |
| Group | Ctrl + G |
| Un-Group | Ctrl + U |
| Delete | Delete |
| Exit wall creation | Esc |
| Zoom in | Ctrl + + |
| Zoom out | Ctrl + - |
| Show or hide grid | Shift + G |
| Show or hide rulers | Shift + R |
File Management
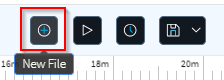
- Create a new file by selecting the New File icon.
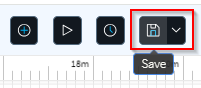
- Save a file by selecting the Save icon.
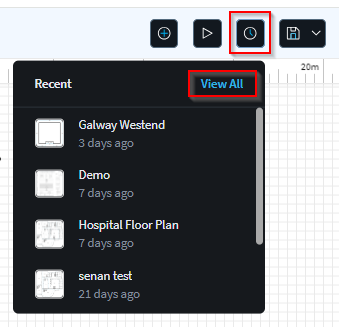
- Delete a file by selecting the Recent icon and then
selecting View All.
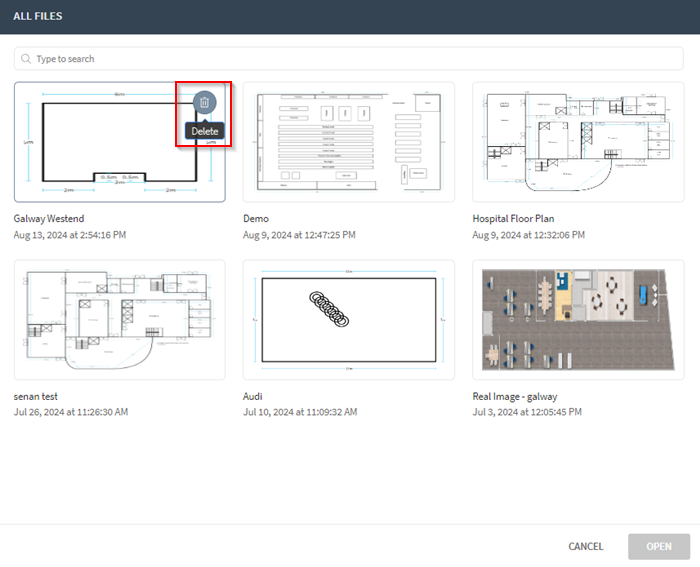
In the View All panel, hover over the thumbnail image you wish to delete. The Delete icon appears in the upper left corner of the thumbnail image. Select the Delete icon to delete the image.
- Open a file in the file library by selecting the
Recent icon and then selecting View
All.
In the View All panel, select the image you wish to open and then select Open.
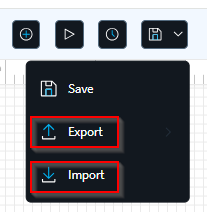
- Export or Import a file to and from the local computer by
selecting the Save and More icon, and then selecting
Import or Export.
 Note: You can export images to
*.jpg,*.png,*.svg, or*.designstudioformats. You can import files in*.designstudioformat.