Creating an Incident in SOTI XSight
Before you begin
About this task
Procedure
-
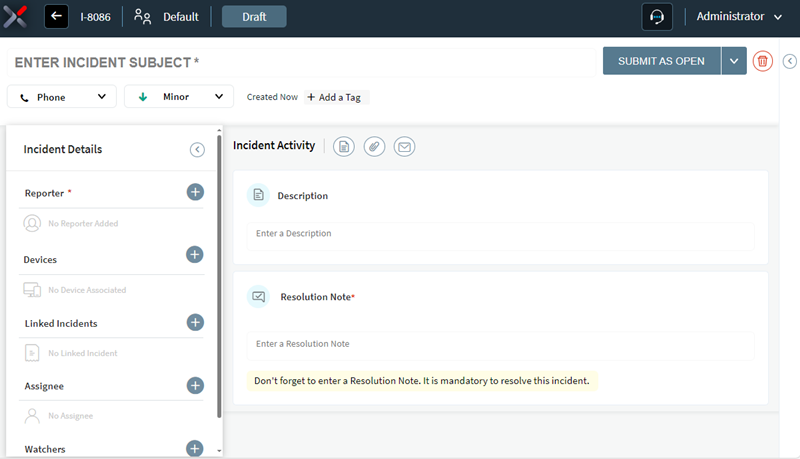
From the top menu select the New Incident button.

-
Enter details of the incident, such as a title, description, priority level,
and other information.
Note: To learn about the information you can add to these fields, see Editing Incident Details
-
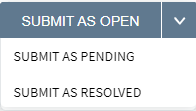
Submit your incident and assign it a status. Select the Submit
As button and selecting a status: Open,
Pending, or Resolved. To learn
about each status, see Status Types.
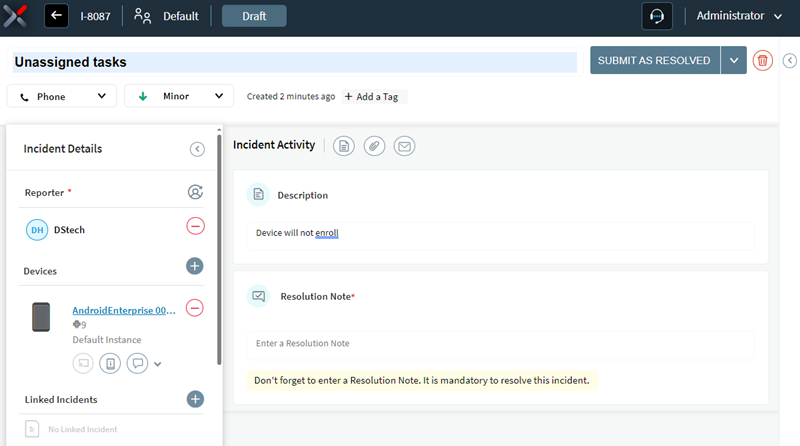
If you select Submit As Resolved:
- Add a note that describes the incident resolution in the Resolution Note field. Whether this note is mandatory depends the workflow settings. To learn how to make resolution notes mandatory, see Creating Workflows.
- Optionally, to hide the note from everyone but the reporter and administrators, toggle the Keep note private option.
- After you add the note, select the Submit As Resolved button again.