Configuring SSO for Android with SOTI Identity
About this task
Configure Single Sign On (SSO) for native and web applications on Android using SOTI Identity.
Procedure
- From the SOTI MobiControl web console main menu, select Profiles.
- In the Profiles view, select the New Profile icon in the top-right corner.
-
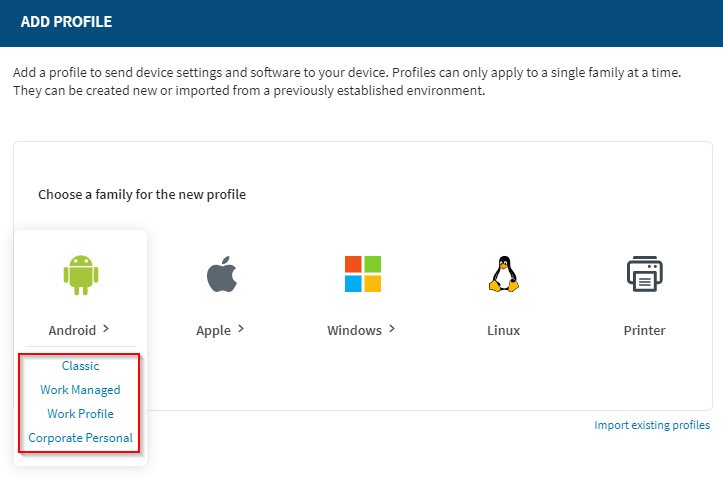
In the Add Profile panel, select any of the Android
platforms.
-
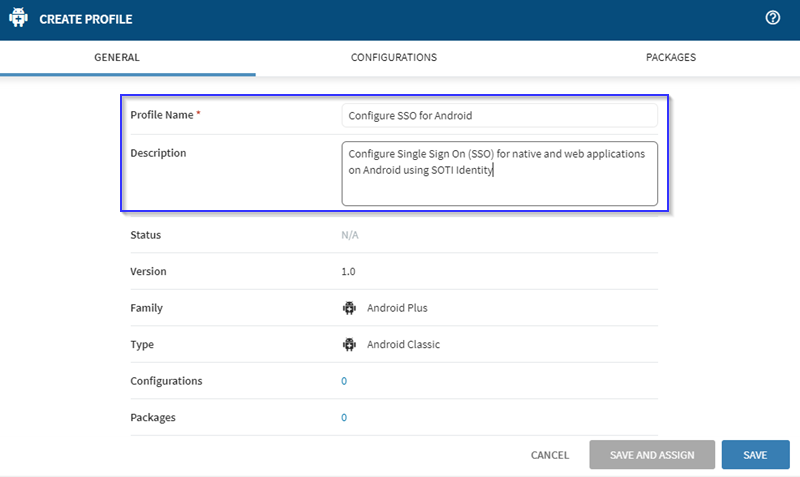
In the General tab of the Create
Profile panel, enter a Profile Name and an
optional Description.
 Note: You can only create profiles for a single platform at a time.
 -
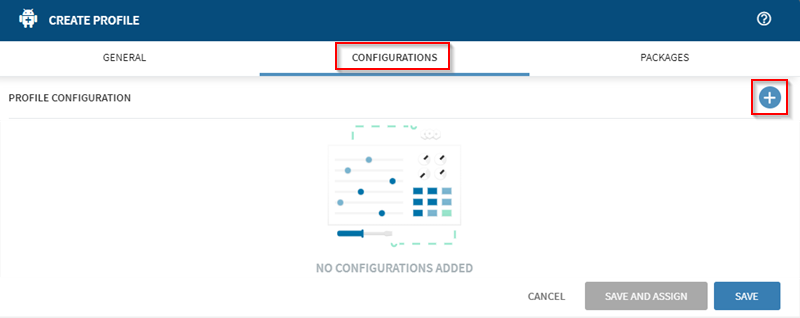
Select the Configurations tab, and select the
Add Configuration
icon.
 Note: You can create profiles that have only configurations or packages. You do not need to include both.
 -
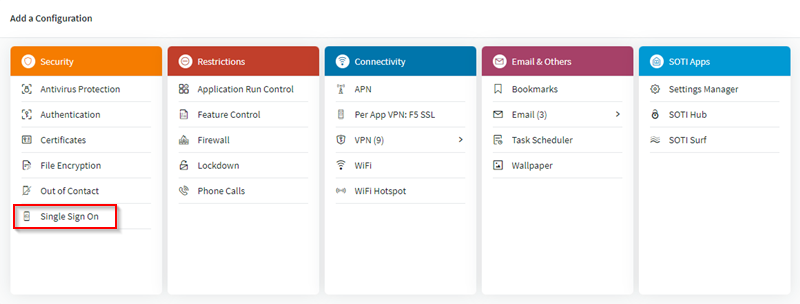
Select Single Sign On from the
Security menu.
-
In the Single Sign On panel, select the
Manage button (red box) to open the SOTI Identity panel. Select the Import
Application
icon to import applications or the
Add Application
icon to add applications (blue boxes).
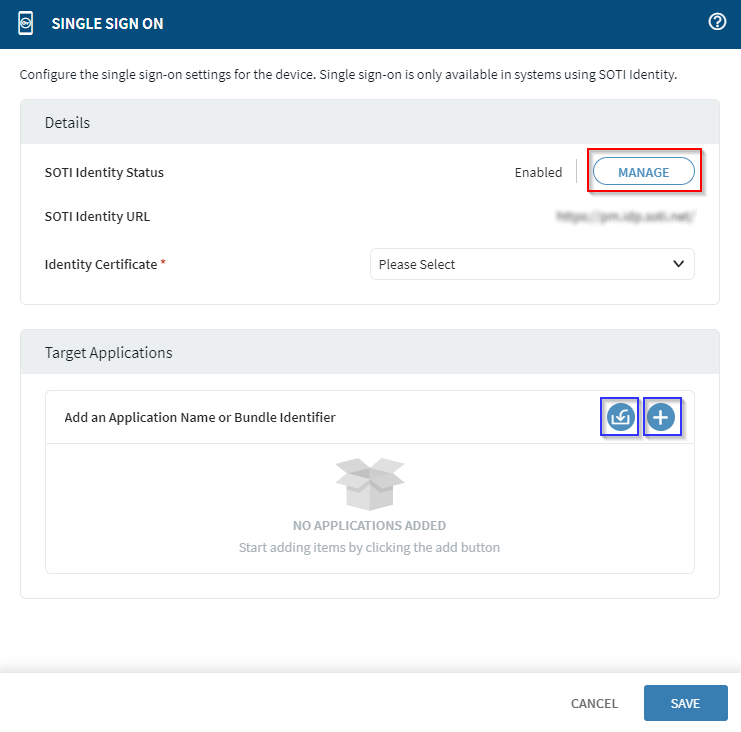
- In the Identity Certificate drop-down list, select the user certificate template selected in the certificate payload.
-
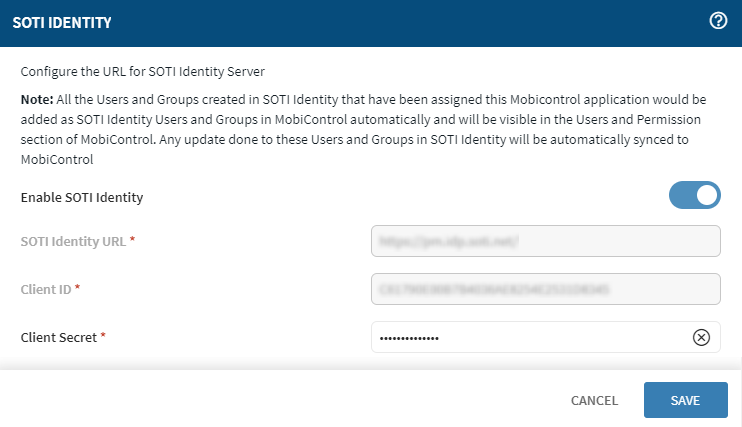
Configure the URL for SOTI Identity in the SOTI Identity panel.
-
Add target applications in the Target Applications
sub-panel. Import applications or enter multiple applications in the
Target Applications panel (blue boxes).
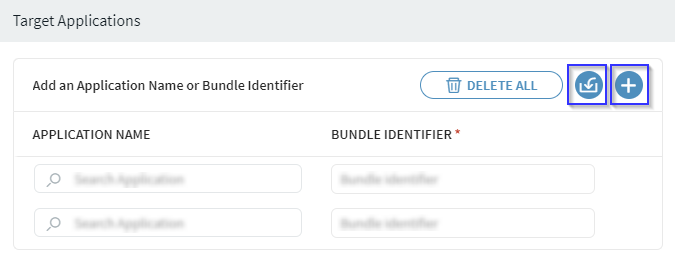 Note: In the Target Applications panel, enter the application's bundle identifier to enable SSO for specific applications. If applications are not added, all the applications registered with SOTI Identity are SSO enabled.
Results
You have created an SSO profile for Android devices of a specific type. All profiles are visible in the Profiles view.