Integrating Additional SOTI MobiControl Instances
About this task
Note: Additional SOTI MobiControl instances are
supported in SOTI MobiControl version 15.4 and later.
Enabling the SOTI XSight Login Page
Procedure
- Login to SOTI XSight web console.
- Select the main menu from within the SOTI XSight web console.
- Select .
-
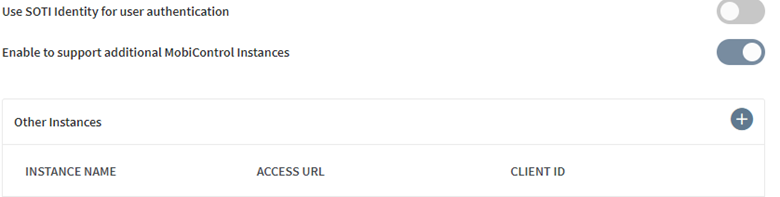
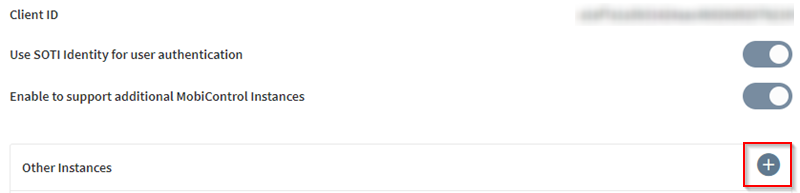
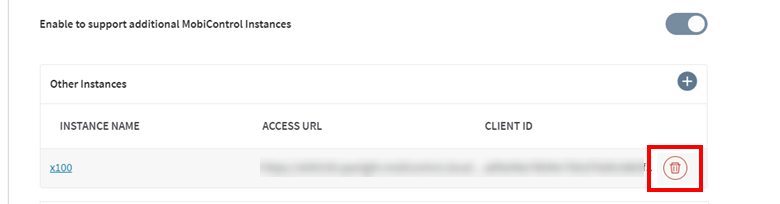
Toggle Enable to support additional MobiControl
Instances on.
- Select to the right of XSight Management Server Logon configuration.
-
Add the XMS domain name under Management Server.
Note: This part is full/partial domain name of the XMS address for accessing the web console.
-
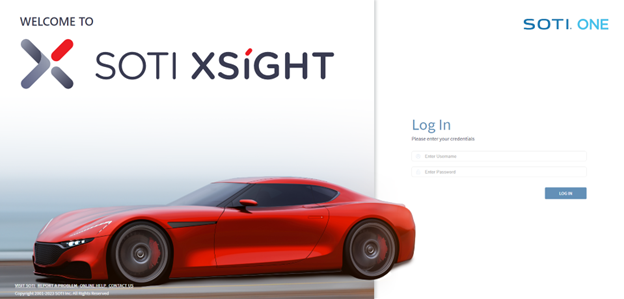
Set the Login Mode to XSight Login .
 Note: Select XSight Login for legacy setups, to display the legacy (race car) login page .Note: If the domain name does not work, put an asterisk before the domain address.
 - Select Save.
-
Select Ok.
 Note: If SOTI XSight has more than one XMS instance, you must restart XMS on all XMS instances.
 -
Re-login to SOTI XSight. The SOTI XSight Native Login page displays.
Adding a Non-Primary SOTI MobiControl Instance
Procedure
-
Select to the right of Other
Instances.
-
Enter the following information in the Add
MobiControl panel.
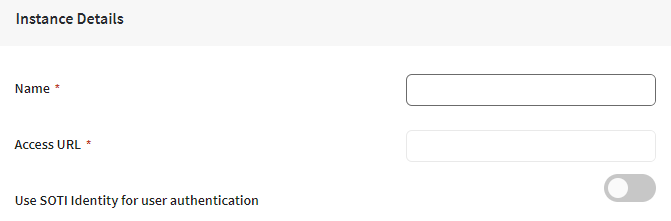
Table 1. Instance Details Setting Value Name Enter the name of the non-primary instance to add. The name is reflected on the device search points throughout SOTI XSight (Incident Management, Chat Container and Operational Intelligence). Access URL The URL of the non-primary SOTI MobiControl. Note: For SOTI Identity,/mobicontrolin the URL should be in lowercase as SOTI Identity is case sensitive.Use SOTI Identity for user authentication Toggle off 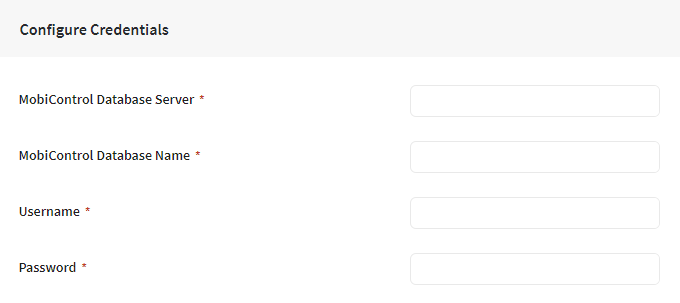
Table 2. Configure Credentials Setting Value SOTI MobiControl Database Server The database server name of the non-primary SOTI MobiControl instance. The SQL instance which hosts the SOTI XSight database must be able to connect to the SQL Server (ports) instance which hosts the secondary SOTI MobiControl database. SOTI MobiControl Database Name The name of the non-primary SOTI MobiControl database. For example: MobiControlDB
Username The SQL Server username of the user that has full privileges. Password The SQL Server password of the user that has full privileges. - Select Save.
-
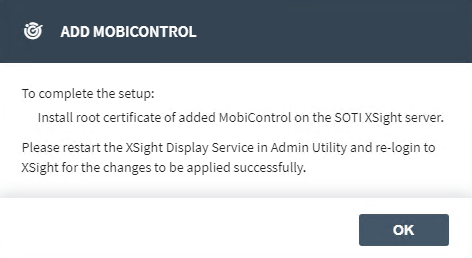
Follow the instructions in the Add MobiControl prompt.
Complete the following:
Select Ok.
- Install the root certificate of the added SOTI MobiControl instance on the SOTI XSight server.
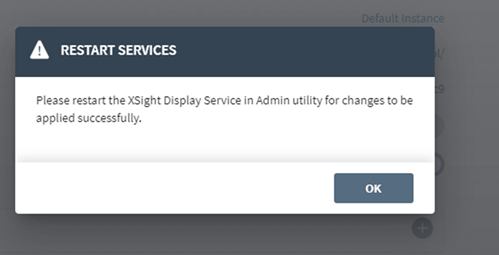
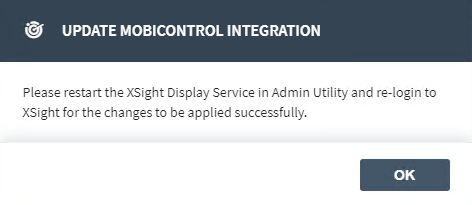
- Restart the SOTI XSight Display Service in the SOTI XSight Administration Utility.
- Re-login to SOTI XSight.
-
Add the non-primary SOTI MobiControl root certificate to VM where
XMS is installed and restart XMS from the Admin Utility/Services.
Note: If the SOTI XSight installation has more than one XMS instance, you must install the certificate on all XMS instances and restart these instances.
Getting Non-primary SOTI MobiControl Root Certificate
Procedure
- RDP into the non-primary SOTI MobiControl instance.
- Open the SOTI MobiControl Admin Utility.
-
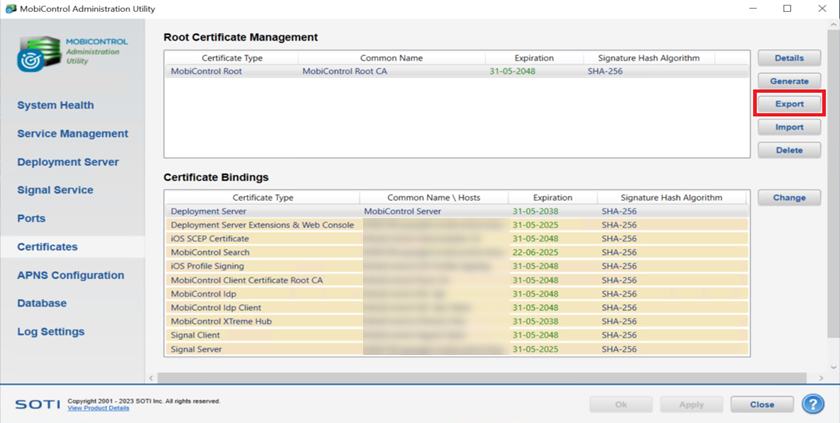
Select the Certificates tab.
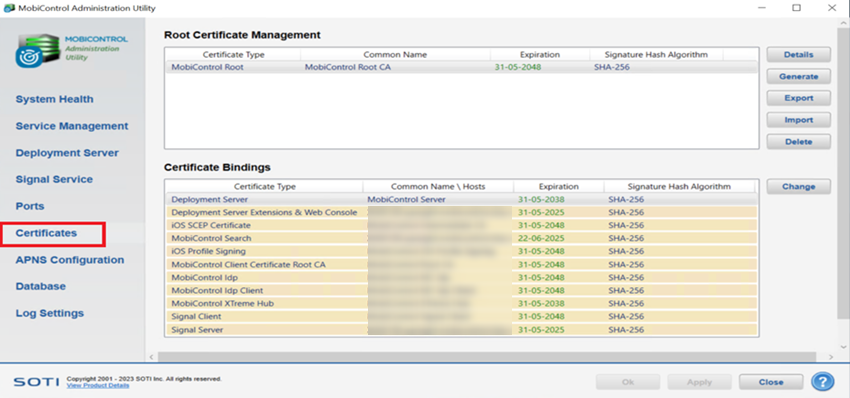
-
In the Root Certificate Management panel, select
Export.
-
Transfer the non-primary SOTI MobiControl root certificate
file to the primary XMS server. For example,
Root.cert.Note: If SOTI XSight has more than one XMS instance, you must install the certificate on all XMS nodes. -
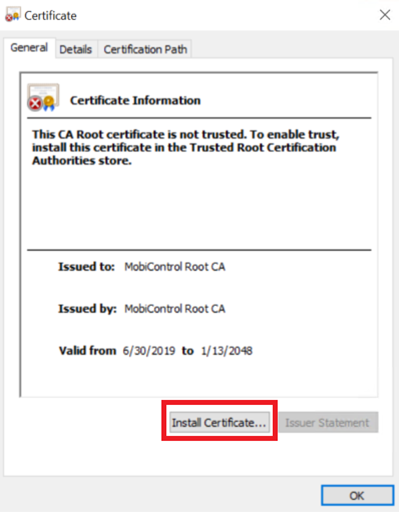
On the primary XMS server, double-click on the non-primary SOTI MobiControl root certificate file that was copied
over.
- Select Install Certificate.
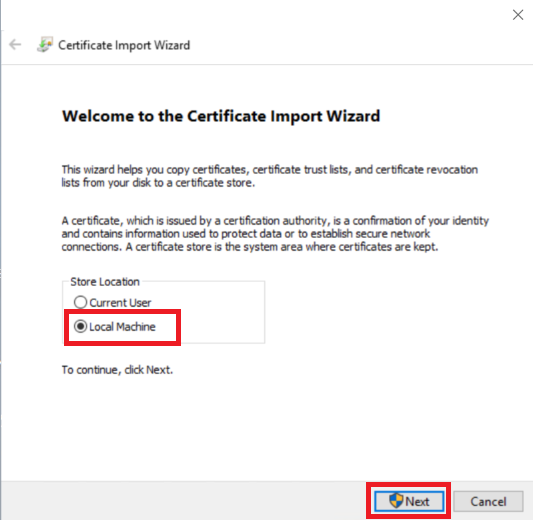
- In the Certificate Import Wizard, select
Local Machine and then select
Next.
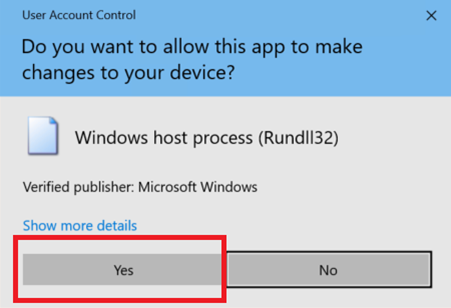
- Select Yes.
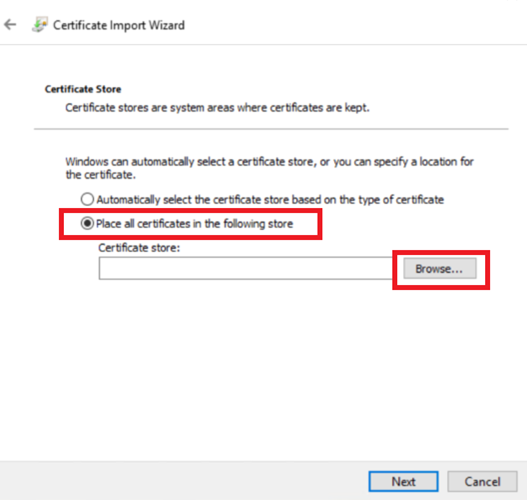
- In the Certificate Import Wizard, select
Place all certificates in the following
store and then select
Browse.
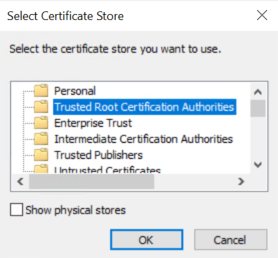
- Select the Trusted Root Certification
Authorities certificate store, then select
Ok.
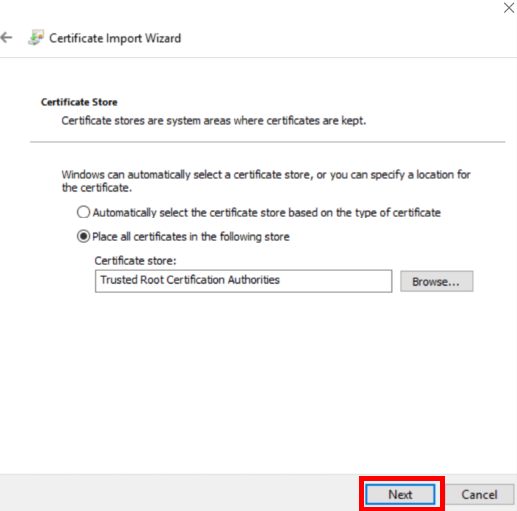
- In the Certificate Import Wizard, select
Next.
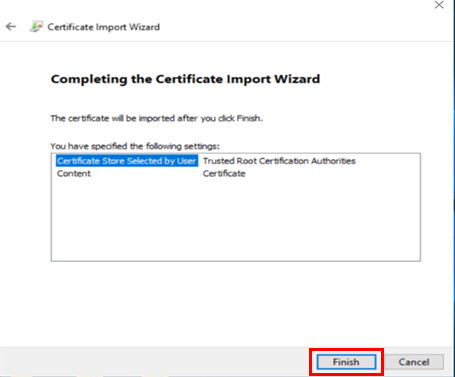
- In the Certificate Import Wizard, select
Finish.
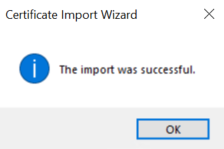
- In the Certificate Import Wizard, the message
The import was successful displays.
- Select Install Certificate.
Deleting a Non-Primary SOTI MobiControl Instance Integrated with SOTI XSight
Procedure
- Login to SOTI XSight web console.
- Select the main menu from within the SOTI XSight web console.
- Select .
-
To delete an instance, hover over the instance name in the Other
Instances section and select the icon.
-
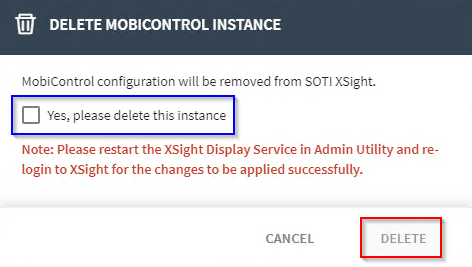
In the Delete MobiControl Instance pop-up. Select the
Yes, please delete this instance checkbox.
-
Select Delete.
Note: You must restart the XMS services and re-login to complete the deletion of the instance. If SOTI XSight has more than one XMS instance, you must restart XMS on all XMS instances.
Updating a Non-primary Instance
About this task
Procedure
- Login to SOTI XSight web console.
- Select the main menu from within the SOTI XSight web console.
- Select .
-
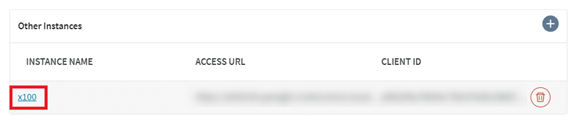
Select the instance name.
-
The Update MobiControl Integration panel
displays
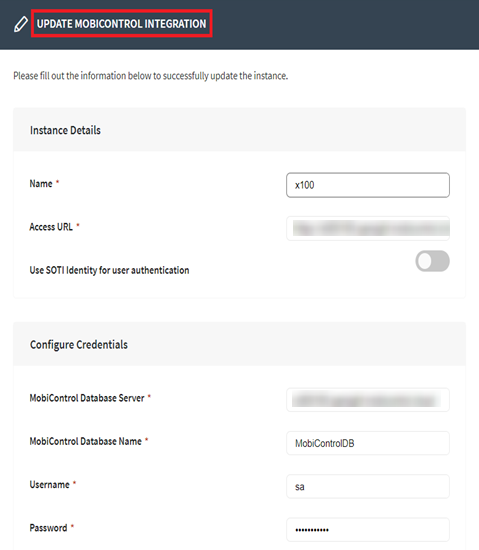
- Update the settings and select Save.
-
After successfully updating the settings the following prompt
displays.
 Note: If SOTI XSight has more than one XMS instance, you must restart XMS on all XMS instances.
Troubleshooting
Procedure
- If there are incorrect instance configurations settings when setting up additional SOTI MobiControl instances (for example, incorrect DB credentials or an incorrect access URL), a Save not successful error occurs.
- If adding an instance with the same Access URL as an existing instance, a Duplicate MC Connection Name error occurs.
Requirements
Procedure
-
Ensure all primary and non-primary SOTI MobiControl instances
have the same username and password.
Important: The same username and password are also required for the service user account.
- All SQL server ports must be open (default:1433 and non-default ports).
- After successful set-up, you must restart all XMS instances.
- When prompted to re-login you must logout from all different browsers and then log back in.
Limitations
Procedure
- Enrolling a device that was enrolled in instance A to instance B still opens a session on instance A in the chat container.
-
If you do not select Save when setting up and
additional SOTI MobiControl instances or updating an instance,
any changes made are not saved.
Note: If you do not select Save, you are not prompted to save your changes.
-
Upgrading SOTI XSight from an earlier version (for
example, version 4.3.x to 2024.x) does not update the database values for
the non-primary SOTI MobiControl instances in the
im_McConnectiontable. -
Using a relative URL when setting up additional SOTI MobiControl instances gives a duplicate instance error.
Note: This limitation is removed in versions 2024.1.0 and later.