Native VPN Payload Configuration For Android Work Managed Devices
Deploy native VPNs to Android Enterprise Work Managed devices using payloads. This feature eliminates reliance on third-party VPN solutions or VPN App Configurations to secure the network traffic on devices.
About this task
Use this procedure to create an Android Work Managed policy, configure a VPN payload and assign it to devices.
Procedure
Add a new profile:
-
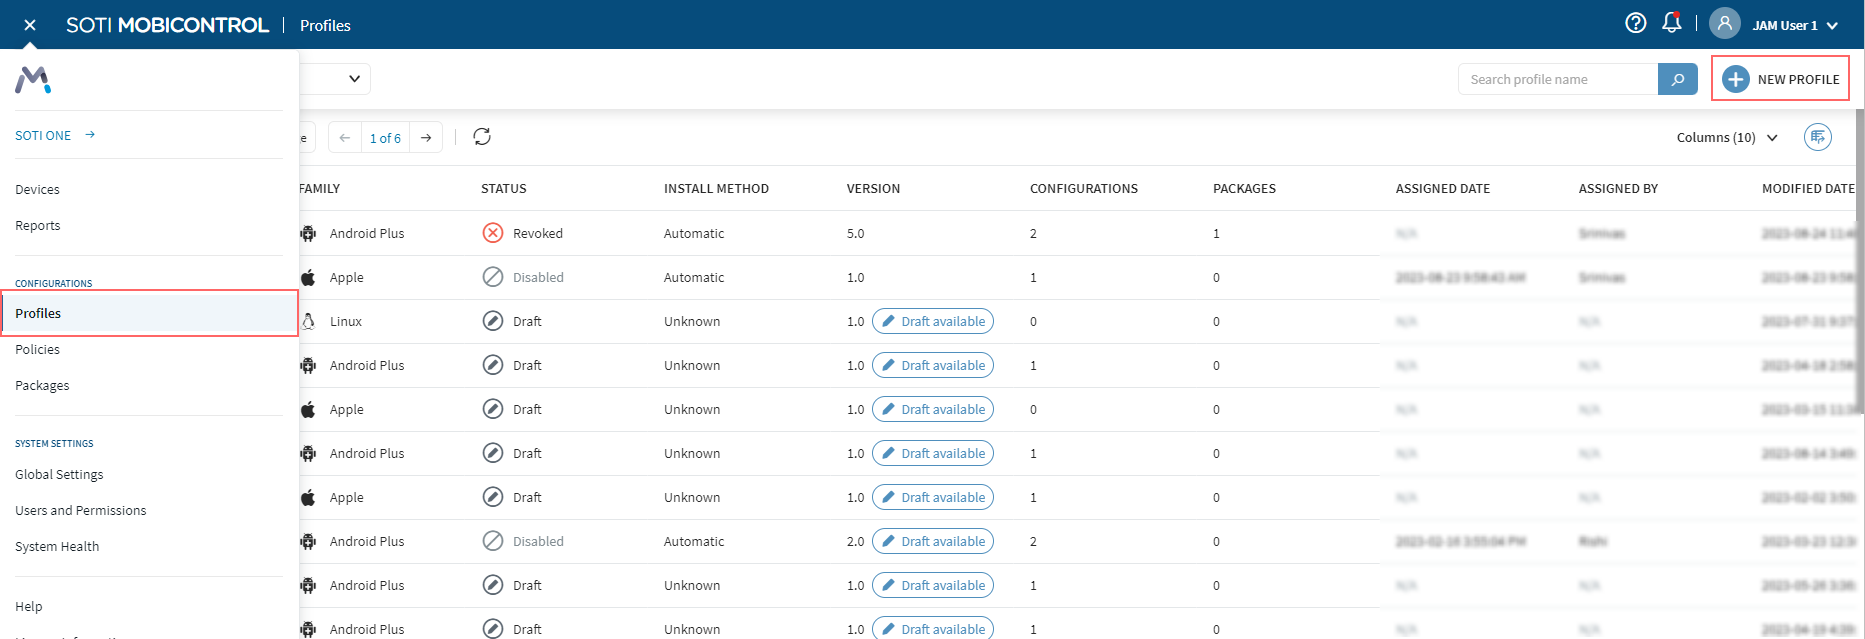
On the console, select . The Profiles page appears.
-
Select
New Profile in the top-right corner then select from the Add Profile dialog box.
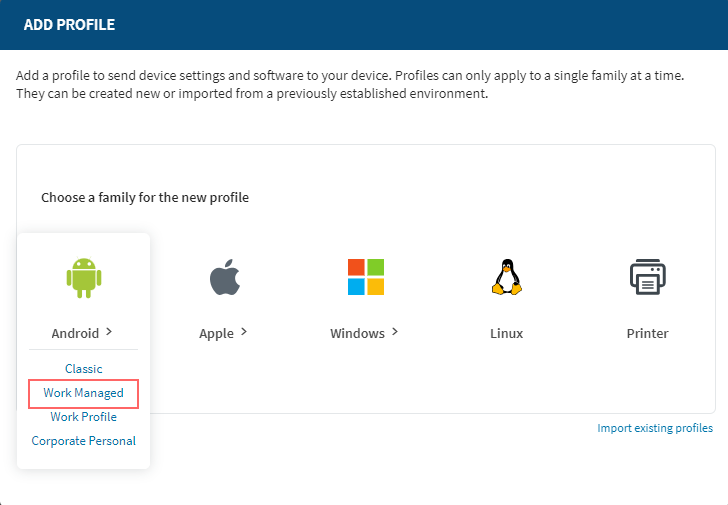 The Create Profile panel appears.Note: You can create profiles that have only configurations or only packages. You do not need to include both.
 -
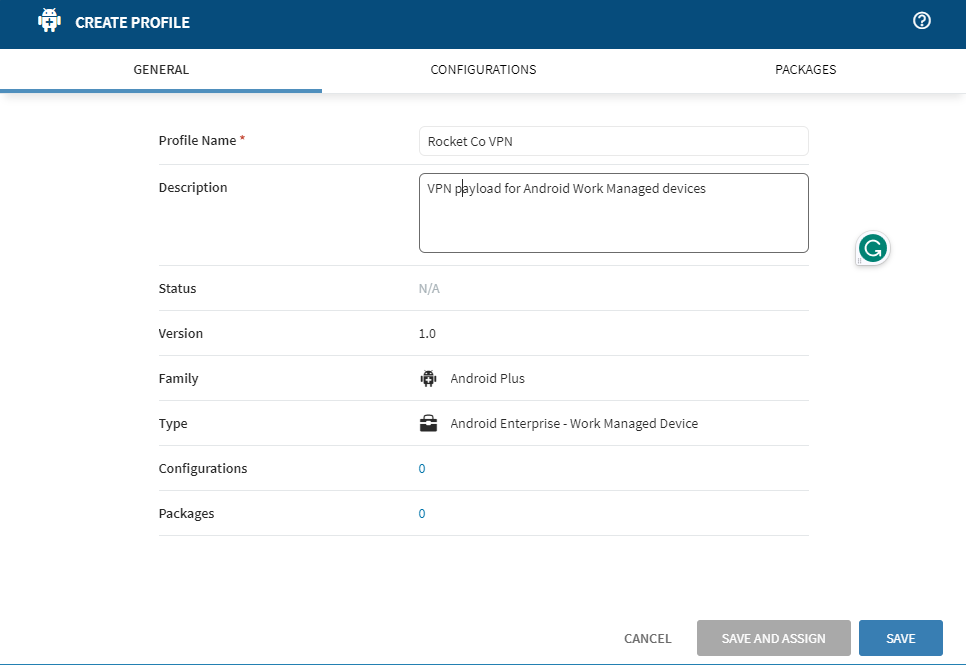
On the General tab, enter a name and description for the
profile. Note that the name and description are visible to the device
user.
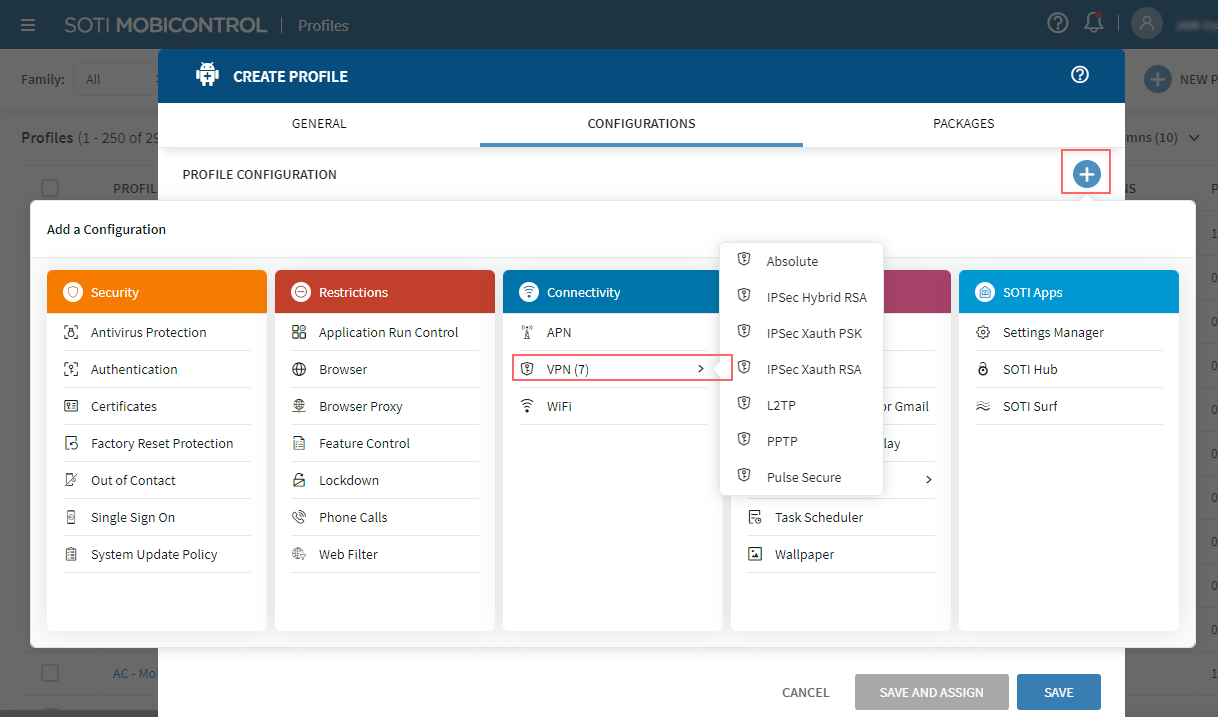
Add a new configuration for the VPN package:
-
Select the Configurations tab then
Add Configuration. The Add a
Configuration panel appears.
-
From the Connectivity section, select
VPN then a VPN payload type. A panel for the payload
type appears.

See Connectivity for descriptions of each available VPN type.
- Complete the information on the panel, including the VPN server hostname/IP address. Under Authentication, select Enrolled User Username.
- Select Save to return to the Create Profile page.
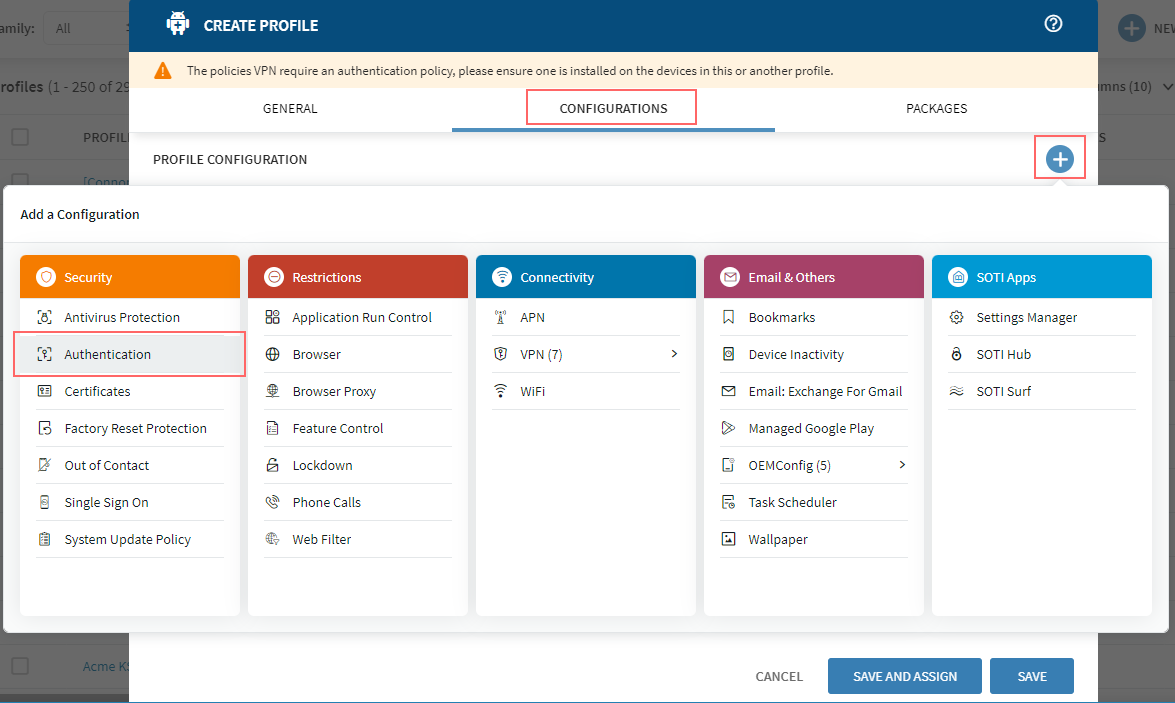
Assign the VPN package to devices:
- On the Configurations tab, select Add Configuration. The Add a Configuration panel appears.
-
From the Security section, select
Authentication.
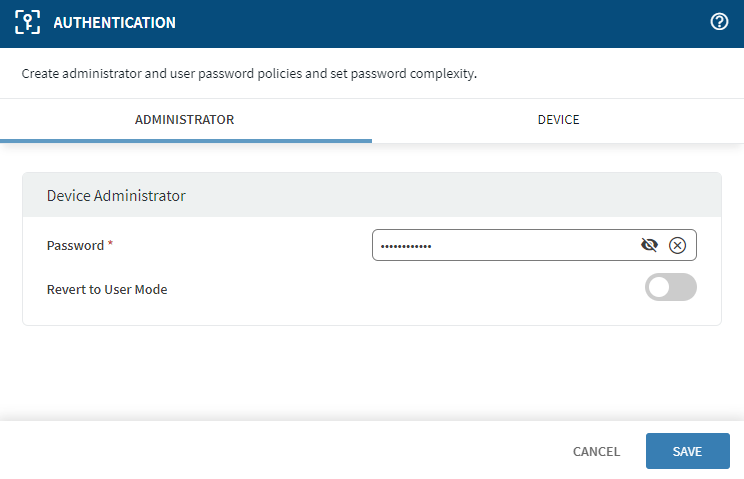
-
On the Authentication panel, add a device administrator
password then select Save.
-
On the Create Profile page, select Save and
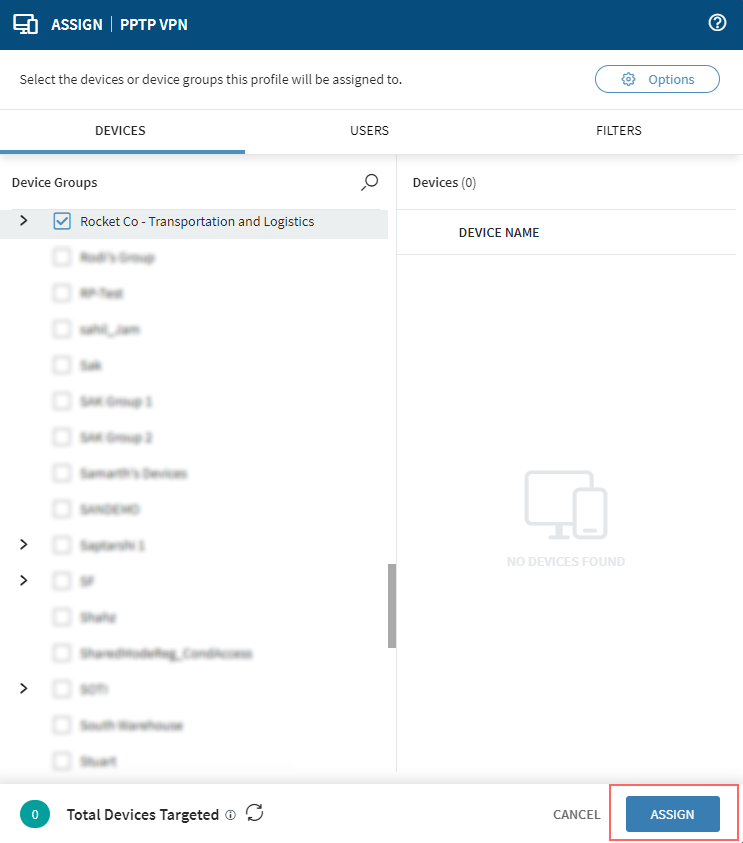
Assign. The Assign panel appears.

-
Select the device groups you want to assign the VPN payload to, then select
Assign.